BNi Access™ Unit Cost Quick Guide
Learn fast, accurate unit cost estimating in this 3-minute tutorial from BNi Access™, powered by eConverge™. See how trusted cost data and a streamlined JOC platform simplify construction estimating. Visit eConverge.com to start your free trial.
Transcript:
00:00 - 00:10 Hello, I'm Grace from BNI Data. In this video, I'll guide you through how to build your very first estimate using BNI Access unit cost powered by Econverge.
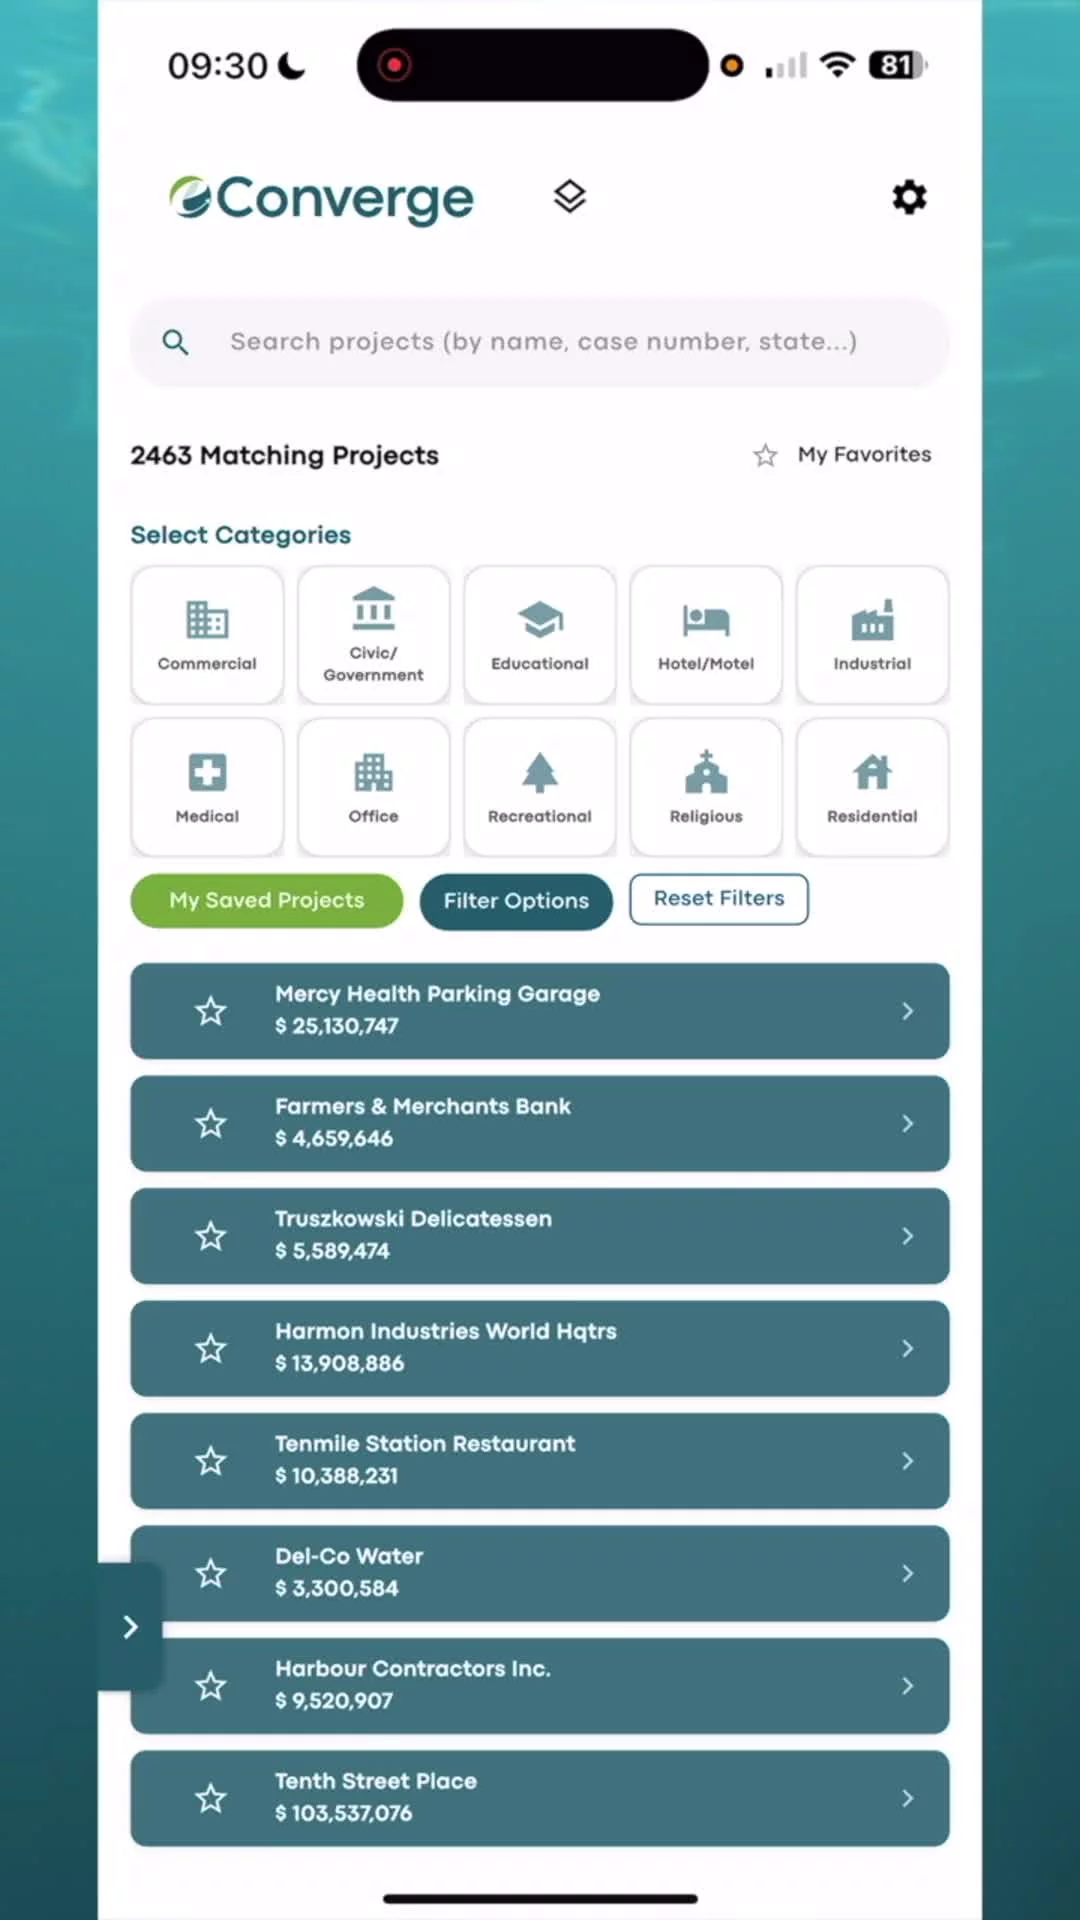
00:10 - 00:22 Start by logging into your account. Once you're in, you'll land on your main dashboard. From the menu on the left, click unit cost. This will take you to the unit cost estimate page.
00:22 - 00:28 To begin a new estimate, click the create new estimate button.
00:28 - 00:50 Now fill in your project details like the name, location, metro area multiplier, project units, a brief description, scope, and any related links. We'll use Philadelphia as the project location. Click the select metro area multiplier button, then search for and select the Philadelphia metro area.
00:50 - 01:10 This will automatically adjust your pricing to reflect local construction costs. Once you've entered everything, click save. If you'd like to add an image to your project, hover your mouse over the image box and click the plus button. Then browse your computer, select the image file you want and upload it. Next, look for the my costbook button.
01:10 - 01:25 You'll find it at the bottom right of your screen. Clicking it opens the BNI pricing database organized using the CSI master format. This format helps ensure no detail is missed in your estimate.
01:25 - 01:46 Let's add our first item, a concrete slab for a two-car garage. Start by selecting division 3 concrete from the left side. Then choose 0331 placing concrete. Scroll to the slab or concrete section. Adjust the window as needed and check the box labeled by chute.
01:46 - 01:53 Now click the transfer one item button and then select the okay button.
01:53 - 02:10 To add more items, simply repeat the process. Open my cost book, then find and select the cost items you want to include in your estimate. After making your selections, click the tag items to transfer button. The transfer item button will display the number of items you've selected during this session.
02:10 - 02:16 When you're done, click okay to exit the database modal. With your items added, it's time to set the quantities.
02:16 - 02:36 If you need more space, you can resize the unit item list window by using the control buttons located just above it. Now go through each line item and adjust the quantities based on your project's requirements. As you make changes, the system will automatically update your total estimate in real time.
02:36 - 02:45 Need to remove something? Just click on the item to highlight it with a green outline. Then click the trash can icon to delete it from your estimate.
02:45 - 03:03 When you're ready to share your estimate, click the export my estimate button just above the image box. BNI access unit cost provides two options. Export as a PDF, perfect for printing or sharing, or choose Excel if you want to make further edits or customize your estimate.
03:03 - 03:09 If you need help or have questions, contact us using the information on the screen. Have a great day and happy estimating.